Maintaining a healthy lawn is no easy task, however, and attempting to grow one from seed can be difficult and time-consuming. Moreover, the results may be lackluster, especially if the lawn ends up being overrun by weeds or infested with pests.
Sod to the Rescue
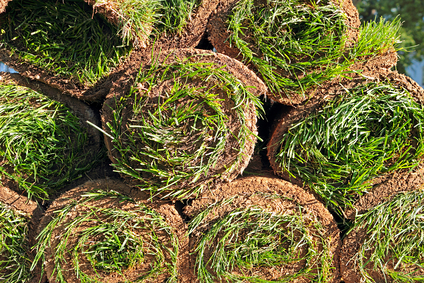
Sod is more expensive than seed, but the results justify the price. Sod is not only convenient, it produces a thick, green lawn instantaneously. It is also naturally resistant to pest infestations, diseases and weeds, according to This Old House.
Follow a few simple steps, and you'll have a beautiful lawn for years to come.
Prepare Your Yard
If you are going to be replacing a lawn, you need to remove the existing grass before putting down the sod. This can be done quickly with a sod cutter, which you can rent for about $70 a day.
After you've removed your old lawn, level the soil, aerate it and give it a good dose of compost to provide nutrients.
Location, Location
The best time to put down sod depends on where you are live. If you're going to be converting a harsh, desert landscape in Arizona into a soft green one, then you can do it whenever your heart desires. If you plan on replacing a patchy lawn in the north, you can do it at any time between the spring and fall.
The best type of grass for your new lawn depends on your climate. It also depends upon your soil pH and how much sunlight your yard receives during the day. The salesperson from whom you purchased your sod will be able to tell you the best type for your lawn.
Laying it Down
Beyond the sod and some moist soil, all you need for this step is a sod-cutting knife and a few good friends to help out. If you are sodding a large area, renting a forklift is a good idea, as rolls of sod become heavy quickly. Make sure to be careful with the forklift, however; the driver should always wear a safety belt while it's in operation, and it's vital you know the lift's carrying capacity. Overloading can cause it to tip over.
While installing the sod, make sure to pack the strips together tightly in a staggered pattern. Once all of the sod has been laid, the DIY Network recommends a light watering and a once-over with a weighted roller. This will bring the sod into contact with the soil.
Sod Care
The sod should be allowed to settle without excessive foot traffic for at least a week. Water your new grass at least once a day, preferably before it gets too hot. Do not water the sod at night, as the excess moisture may encourage fungal diseases.
Once the sod has grown to 3 inches, you'll want to cut it back some. Within a few weeks, you can then begin treating the sod as you would any normal lawn, which means watering about an inch per week and cutting the grass by no more than one-third of its height.
The best part? Take to it in your bare feet. Ahh... now that's summer.
No comments:
Post a Comment